This article will help you to set up your Android VPN Client in a few easy steps. Understand that VPN 'rides' on your internet. If you have a bad internet connection, you will experience a bad VPN connection. Certain networks or ISP block access to VPN however we have provided various way to be able to make a connection using our VPN services.
Let's get started!
- Download the VPN client for Android (Download link should be in your welcome email)
Run the apk file to install the software and then launch your newly installed VPN client. (Android by default will warn you that the VPN software you are installing will be monitoring your traffic. This is a normal warning and it is expected. Android will issue this warning for any VPN client software you try to run on your device. We have a no log/monitoring policy so you can go ahead and accept the changes and run the software) - Click Settings to open the settings page.

Enter your username and password (These were sent to you in your welcome email). You don't need to change the port unless the default port is not working on your network. Port 53 is used for DNS and usually ISPs do not blocks port 53 so this should work in most cases. Click/Tap on the Update button to save your changes and close the settings page. - You should be back to the main page. You can choose the location/region for your service by selecting the location from the top left of the main page. From here click on the "switch" button to start your VPN service.
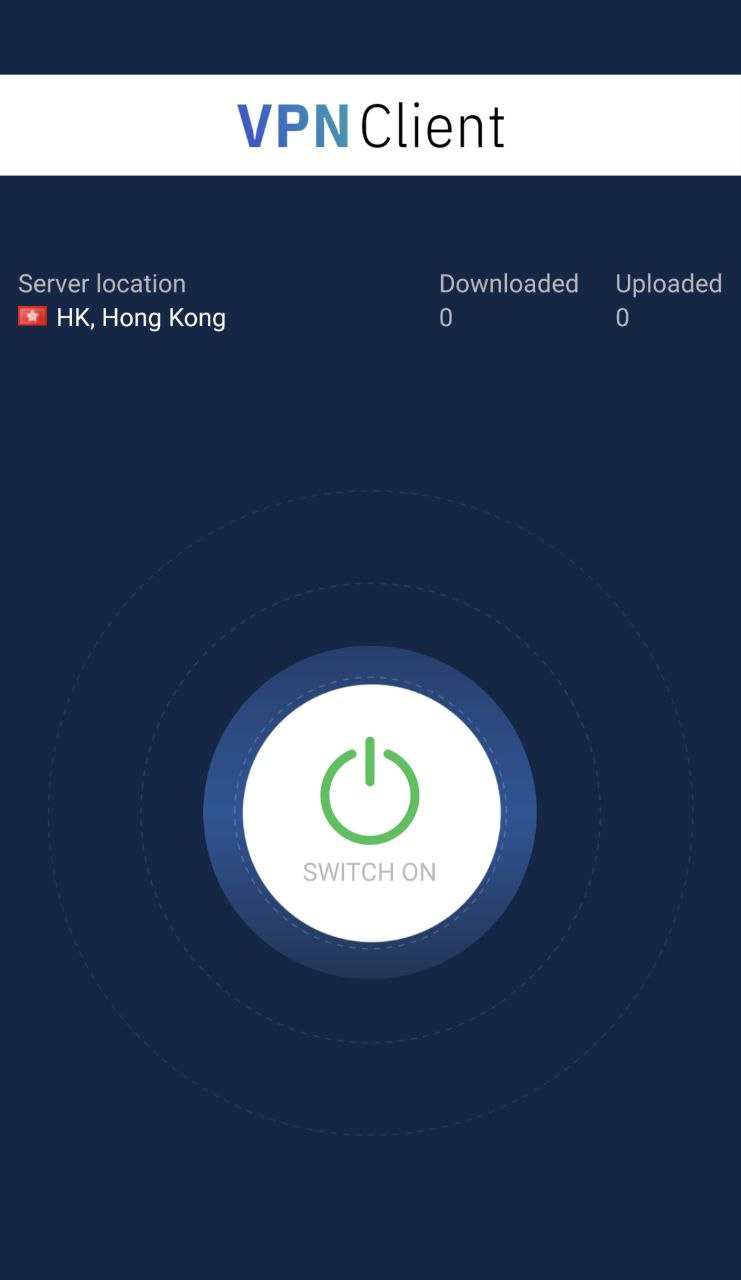
- When your client is connected it will look like shown below.
